
Airport Design Challenge (7-12): Module 1
Paved Surfaces
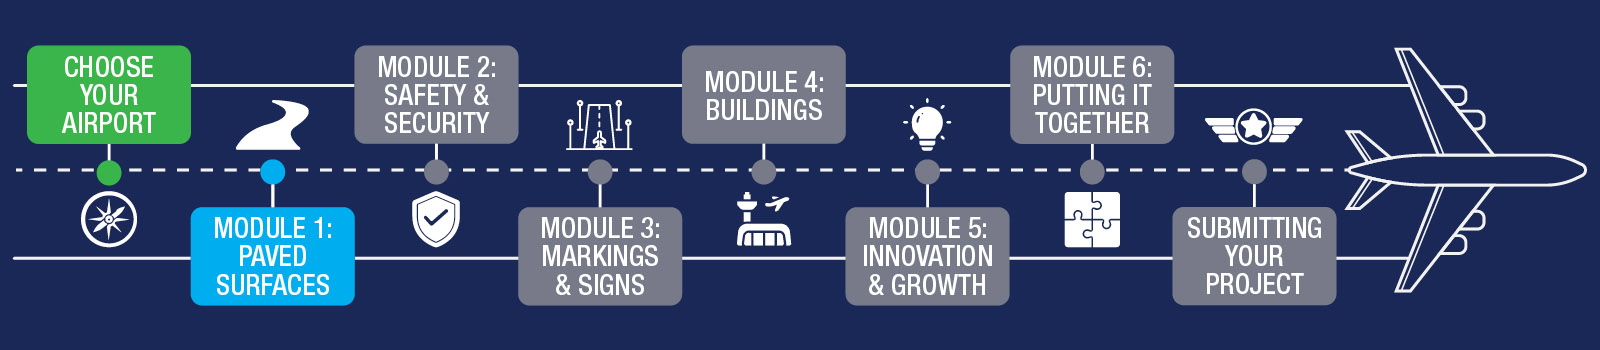
As you begin, focus on understanding how your runways and other paved surfaces are laid out, then start building them in Minecraft. This is often the most challenging part of the project, so take your time and aim for accuracy. We recommend spending up to two weeks completing your scale and paved surfaces.
To get an overview of Paved Surfaces and what to look forward to during Module 1, watch this short overview video.

Before you begin, download the Paved Surfaces Workbook. It includes the Module 1 quiz and serves as a helpful reference throughout this module.
By the end of this module, you will complete:
- Airport Layout Plan (ALP) – Part 1
- Module 1 quiz (in the Paved Surfaces Workbook)
- Build your paved surfaces in Minecraft
As you build, refer to the information on this page and in the Paved Surfaces Workbook.
Airport paved surfaces may not seem like the most exciting part of the project, but they are among the most important. The placement of runways, taxiways, and aprons determines where lights, markings, and buildings can be added later. If paved areas are placed incorrectly or are too small, you may need to rebuild sections later, so careful planning now will save time.
While this module does not explore pavement engineering in depth, airport pavement design is an important career field. Watch the video below featuring Navneet, a civil engineer who helps design and engineer airport runways.
One of the most common questions students have is how to choose a scale for building their airport. Some airports are very large, and placing enough blocks to represent every surface can be challenging.
You may choose any scale that you’d like. Here are a couple of recommended options:
- Larger scale: 1 block represents 3 feet (1 block per 3 feet)
- Smaller scale: 1 block represents 9 feet (1 block per 9 feet)
Regardless of the scale you choose, the most important rule is to remain consistent across all parts of your airport.
Tip: As you build, you may realize that your selected airport is larger than expected. If you decide to switch to a smaller airport, you may be able to reuse parts of your existing design. Try to make this decision early so you can focus your efforts on moving forward.
Every airport begins with careful 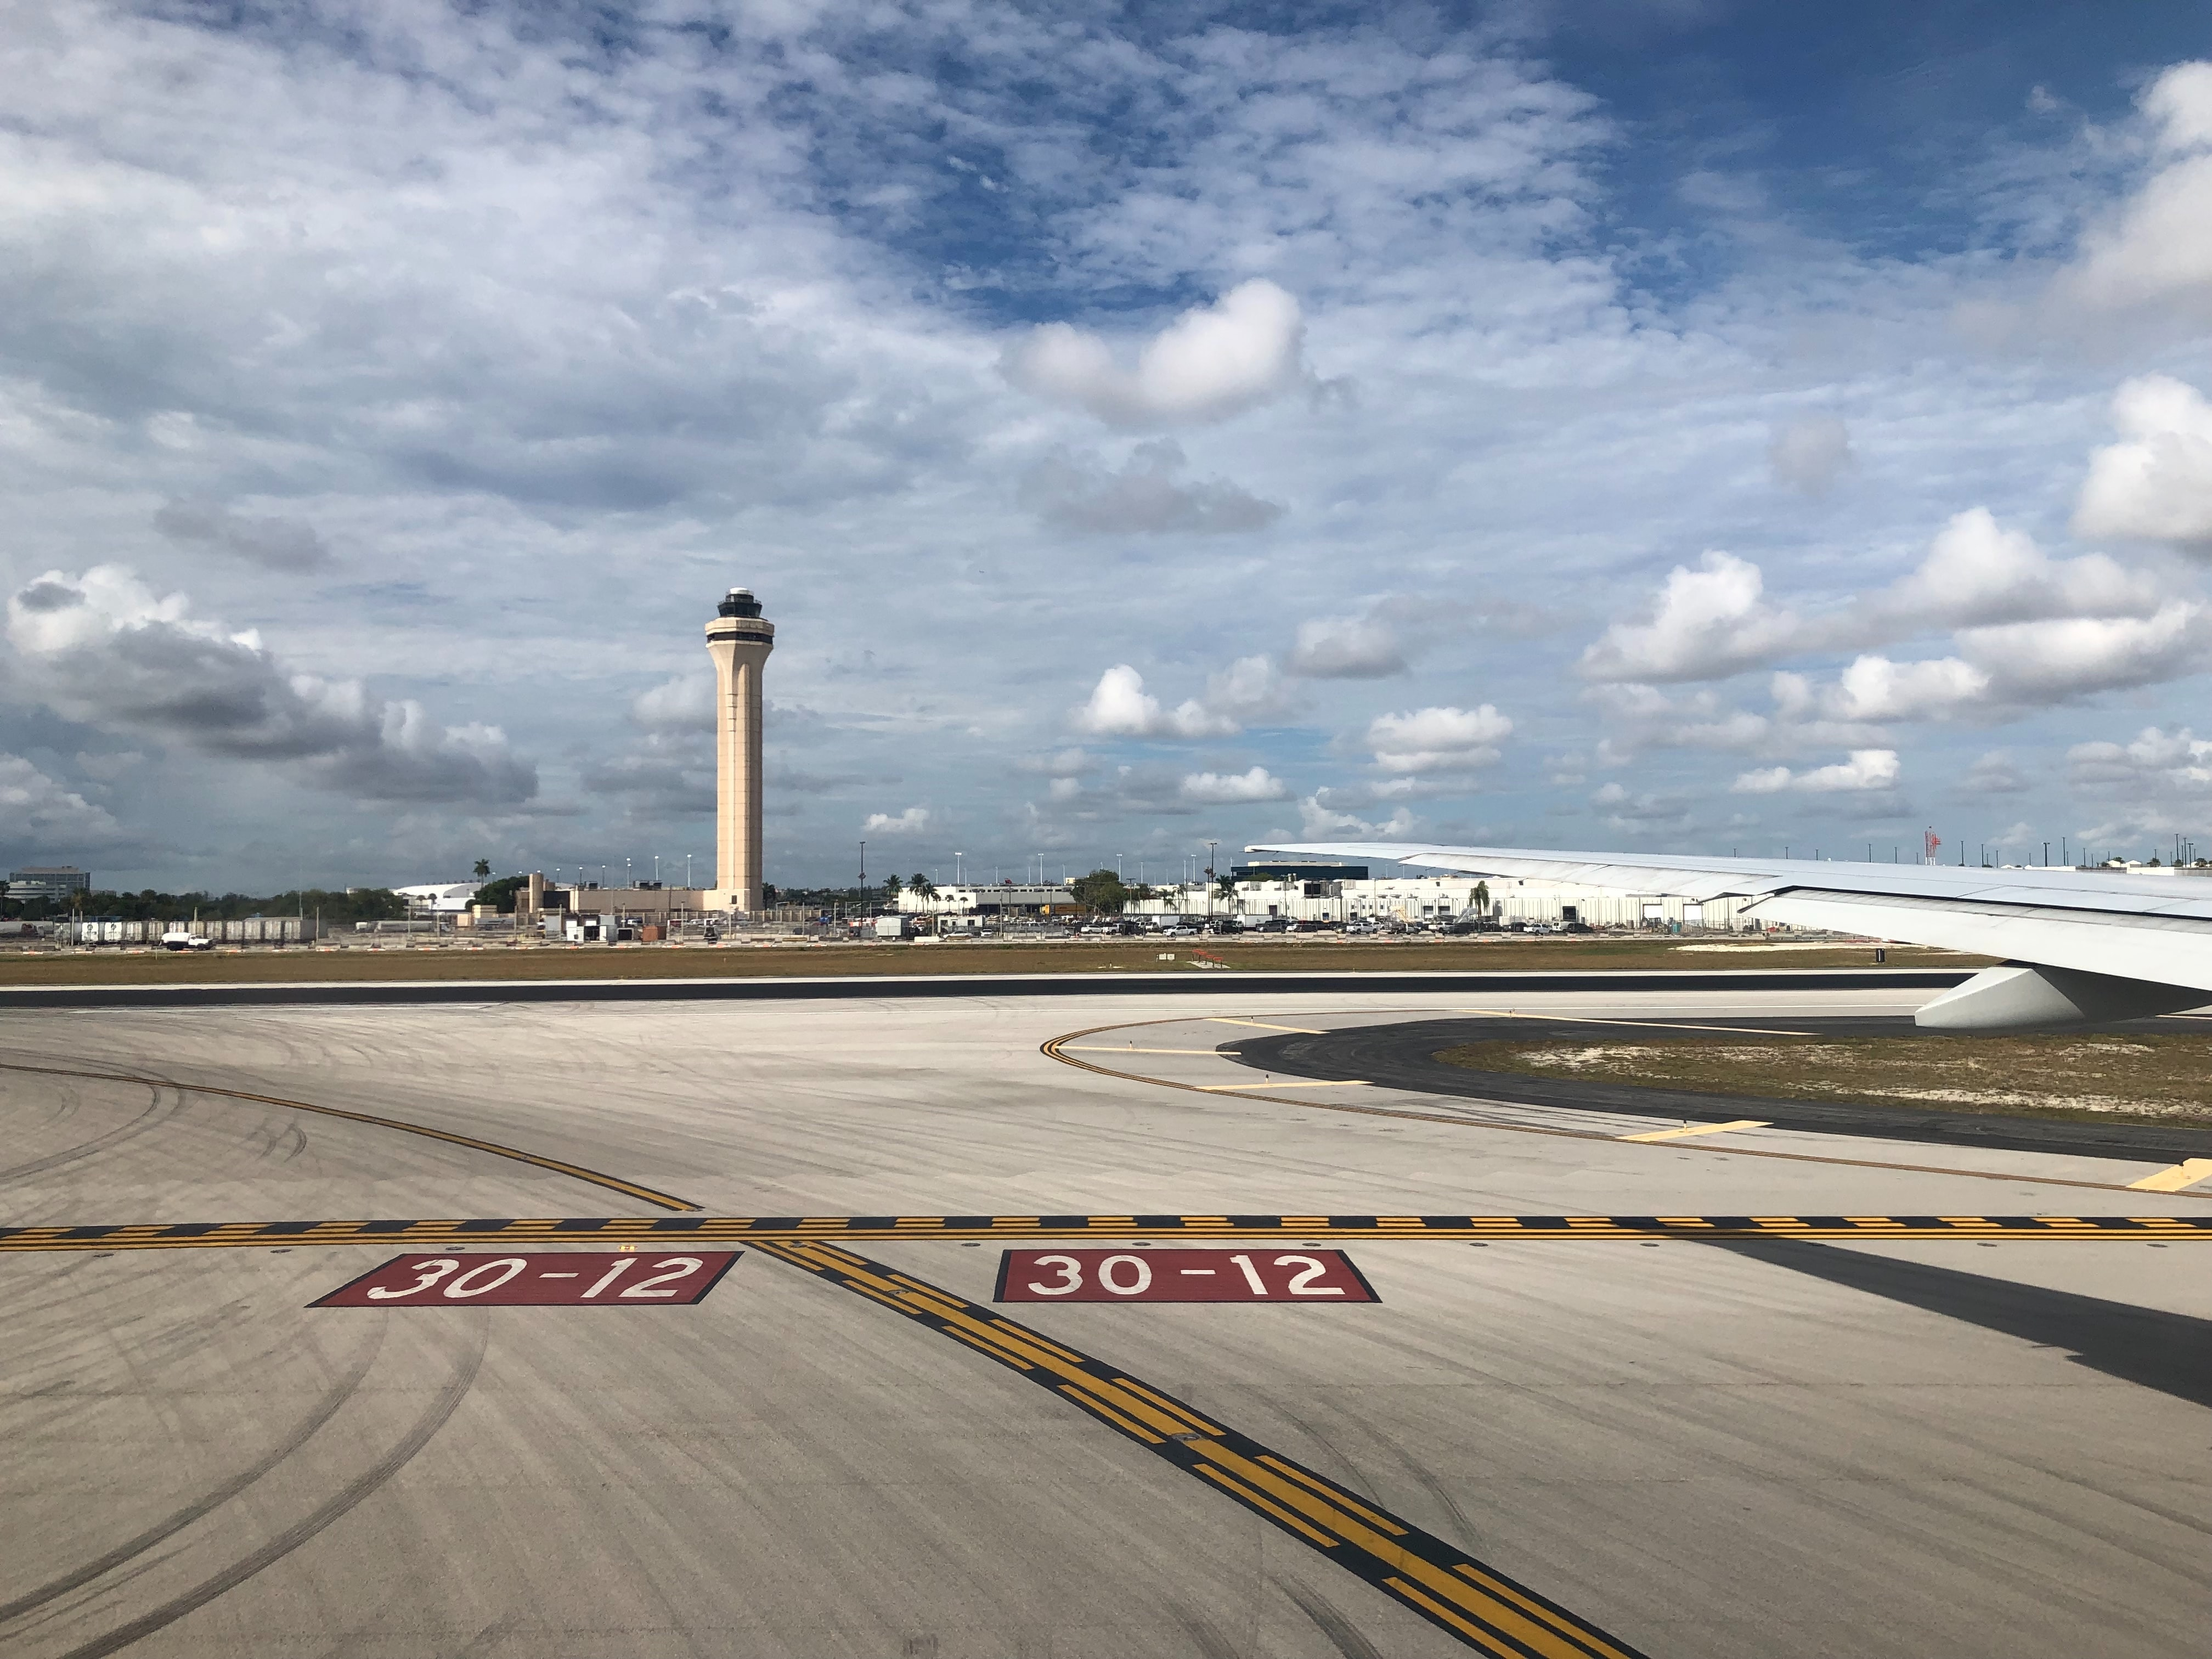 site planning. No airport can operate without a runway that provides a safe place for aircraft to take off and land.
You are recreating a real airport. In Minecraft, you will create or adjust the terrain so it resembles the area around your airport, then place the airport in the appropriate location within your world.
When you registered for this challenge, you selected an airport near your home. To build that airport, choose a suitable location within your Minecraft world and create a terrain map that reflects the surrounding environment.
Things to consider:
- How large is your airport? Can you find the runway dimensions? You will need a flat area large enough to support everything you will build throughout the project.
- How close should the airport be to hills, buildings, and waterways?
- Once you identify a suitable location, move on to Step 2.
Points are awarded for both technical accuracy and creativity. Your map can reflect the environment you choose, so feel free to add trees, hills, rivers, lakes, farms, or nearby buildings to bring your setting to life.
Runways are easy to recognize, but taxiways and aprons are just as important. Each surface serves a different function and should be represented accurately in your model.
Things to consider:
- Airport paved surfaces may use different materials, such as concrete or asphalt, just like roads. Consider how you can represent these differences in your design.
- A Minecraft block represents 3 feet on the ground. Measure your runway length and width carefully so your scale remains accurate as you build future modules.
Airports can be very large, and some are difficult to fully model in Minecraft. If you originally selected a large airport and find it challenging to complete, contact an FAA mentor for guidance. In some cases, a smaller airport with all required components may be more successful than a larger airport missing key features.
FAA's From the Flight Deck video series shows real runway approaches and taxi operations using cockpit-mounted cameras, along with diagrams that highlight hot spots and other safety-sensitive areas.
Watch this example video featuring Daytona Beach International Airport (DAB) in Daytona Beach, Florida.
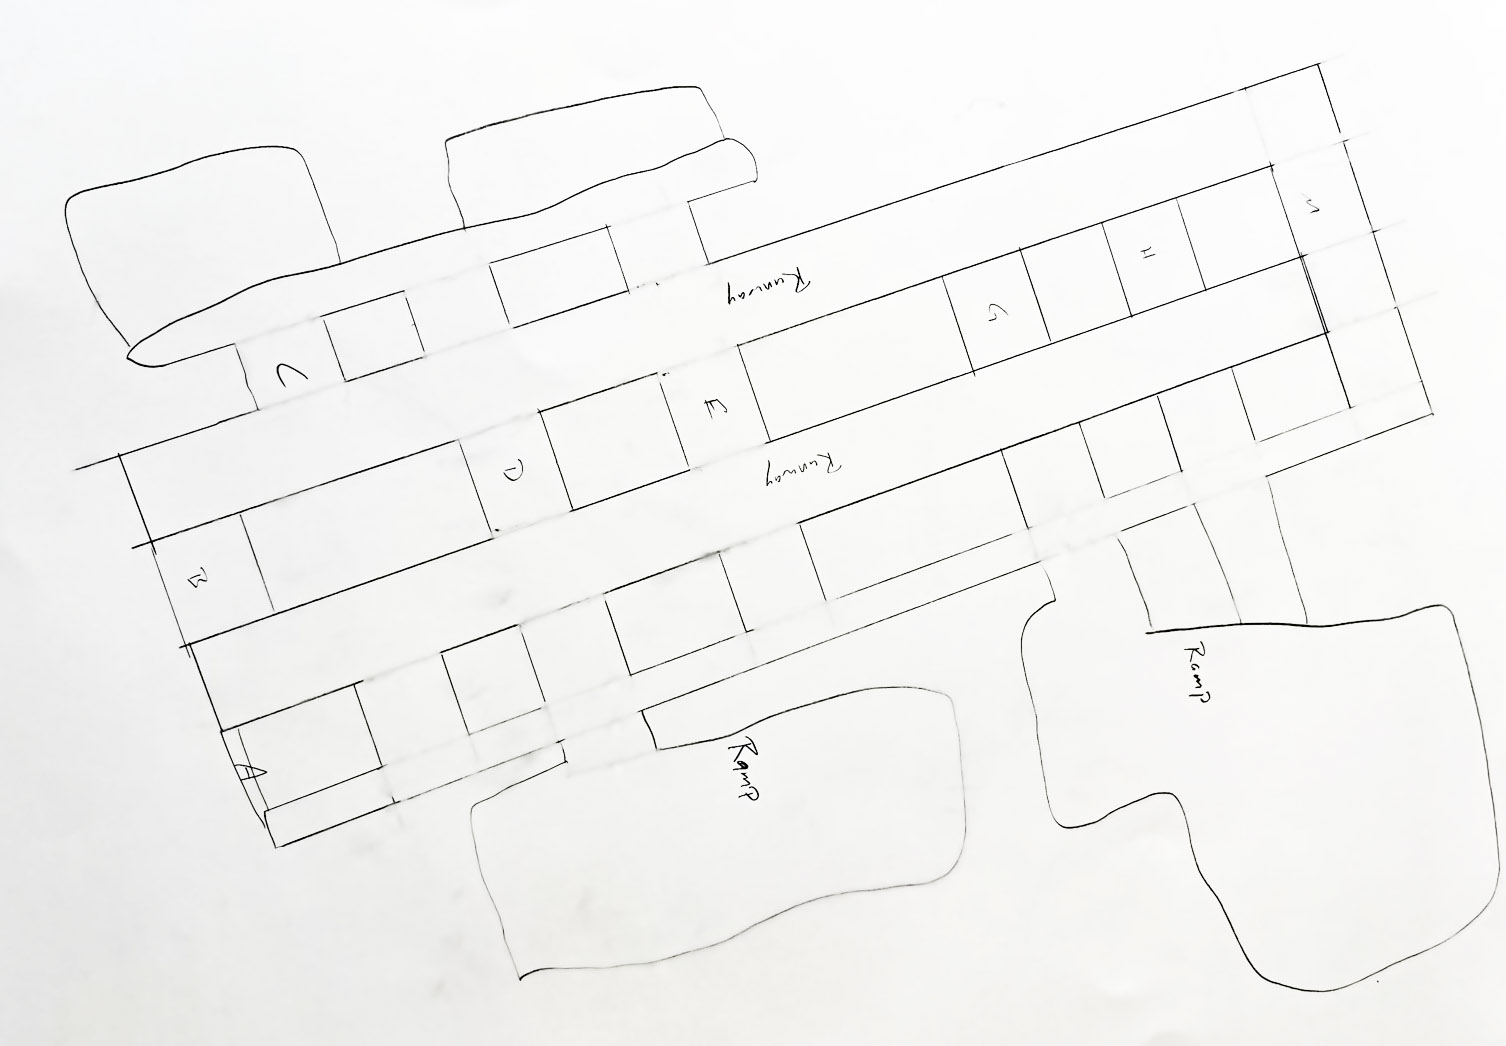
Professional airport planners use a series of documents called an Airport Layout Plan (ALP) to show how major airport components fit together.
In each module, you will update your own hand-drawn ALP. Begin by drawing all paved surfaces for your airport.
When your drawing is complete, take a clear photo and email it to avsed.challenge@faa.gov. Include your name (or team name) and the airport you selected in the subject line.
Example:
- Airport Site Selection (Britannica): Background reading on selecting an airport site (may require adult support).
- Airport Master Record (Form 5010): Find runway dimensions, materials, and airport contact information.
- Meet Navneet Garg: Airport Pavement (Video): Overview of airport pavement engineering.
- Airport Pavements (Video): Differences between highway and airport pavements (FAA specs).
- FAA Resources for Students: Explore aviation and aerospace careers and activities.
- Google Earth & Google Maps: Helpful for aerial views and understanding airport layout.
Here are your wings for completing Module 1! Click the image below to download.
Finished with your Workbook and ready to move on? Next up is Module 2 – Safety & Security.