
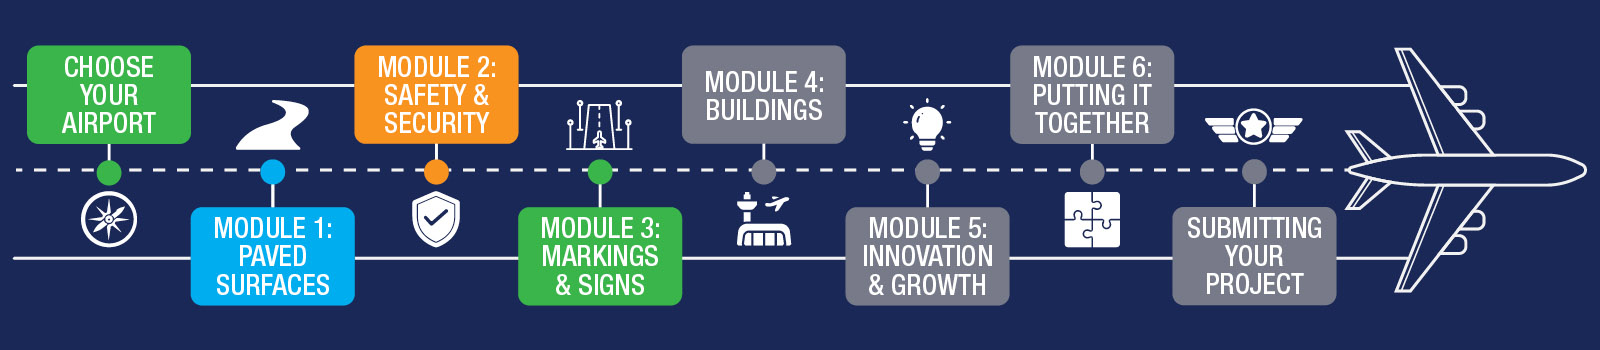
Airport Design Challenge (K-6): Module 3
Airport Lighting, Markings, and Signs
This week, you will add lights, lines, and signs to your airport. These small details help your airport look real! Take your time and try to add as many details as you can.
We recommend spending about one week on this module.
To learn about airport lights, markings, and signs - and what to expect during Module 3 - watch the short video below.

Before you start, download the Lighting, Markings & Signs Workbook (K-6)! It has the Module 3 quiz and helps as you work on the lesson.
By the end of this module, you will complete:
- Know your Airport Lighting, Markings, and Signs worksheet
- Airport Operations Staff activity
- Airport Layout Plan (ALP)- Part 3
- Module 3 Quiz (can be found in the Lighting, Markings & Signs Workbook (K-6))
- Adding your lighting, markings, and signs to your airport in Minecraft!
You’re halfway there!
Your airport must look amazing! This week, you should have all the roads and fences done. Then, you can start adding lights, lines, and signs. These details will make your airport look great, so do your best and have fun!
Have you talked to the airport yet? If you can visit, we suggest taking lots of pictures. This will help you build it in Minecraft. Besides building in Minecraft, remember to do the quizzes at the end of each lesson. You need to finish them all before you can show your final Airport Project tour.
You've done a great job building your airport, with smooth roads for planes and cars, and made sure there's nothing in the way. Now, it's time to make your airport extra safe!
Planes and cars need to know where to go, just like you follow signs and lights. So, you'll need to put special lights, paint lines, and add signs to help them find their way.
Discover all the cool things your airport can have and make them in Minecraft!
Learning Objectives
By the end of this module, you will be able to answer:
- What functions do airport lights provide?
- What do the colors of lights indicate on an airport?
- Does your airport have a beacon?
- Identify required signs and markings on your airport; what purpose do they serve?
Airport Development Tasks:
- Begin with your daytime operations and add runway markings and signs.
- Then, look at what kind of airport lights exist on your airport and then build them in.
- Consider runway and taxiway lights, beacons, instrument landing systems, and more.
As you build, use the information on this page and in the Lighting, Markings & Signs Workbook (K-6).
At night, an airport can look like a holiday wonderland with lots of bright and colorful lights! These lights are not just pretty - they help planes know where to go. Different lights have special jobs and colors to help keep everyone safe.
Here are some kinds of lights you might see at an airport:
- Pilot-Controlled Lighting: Lights that pilots can turn on or off to help them see the airport.
- Beacons: Big lights that help pilots find the airport from far away.
- Approach Lighting Systems: Lights that help planes land safely.
- Runway End Identifier Lights: Lights that show where the runway starts and ends.
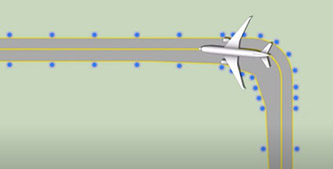
- VASI & PAPI Lights: Lights that help pilots know if they're flying too high or too low.
- Runway Lighting: Lights along the runway to guide planes as they land and take off.
- Taxiway Lighting: Lights that show planes where to drive when they're not flying.
How many of these bright lights can you find at your airport? Each one helps in a special way!
Just for fun, download this worksheet, and do your best to match the markings with the correct description.
Have you ever thought about becoming a pilot who uses airport lighting and markings to navigate safely? Watch this video to learn more about the pilot career path and what the job involves.
FAA's From the Flight Deck video series shows real runway approaches and taxi operations using cockpit-mounted cameras, combined with diagrams and visual graphics that highlight hot spots and other safety-sensitive areas.
Students in the Airport Design Challenge can use these videos to gain a better understanding of how airports look and function from a pilot’s perspective.
Watch this example video featuring Daniel K. Inouye International Airport (HNL) in Honolulu, Hawaii.
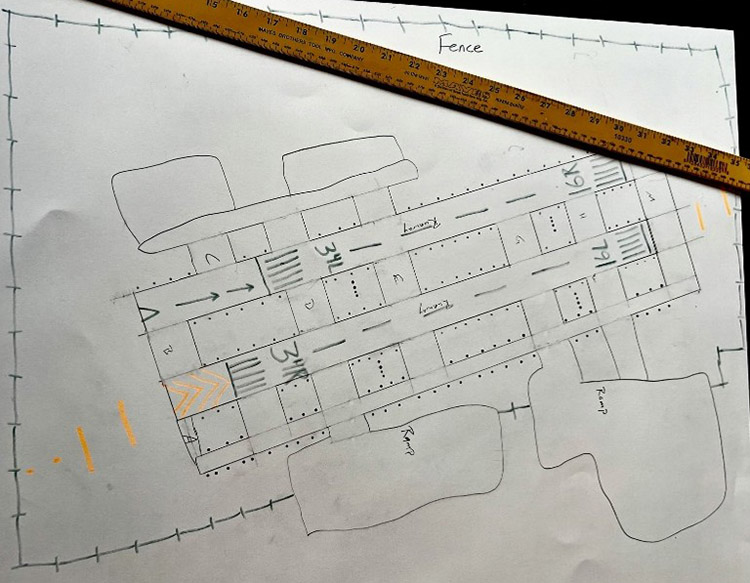
Work together with your team to further develop your airport layout plan. You should now understand and be able to add all of your airport lighting, markings, and signs.
- Using colored pencils or markers, apply the appropriate markings, signs, and lights to your airport sketch diagram. Upload a photo when completed.
Your ALP should include:
- Runway, taxiway, and other airport lighting
- Surface and runway markings
- Airport signage
When complete, take a clear photo of your drawing and email it to avsed.challenge@faa.gov. Include your name (or team name) and airport in the subject line.
Example:
- Airport Lighting (Video): Overview of airport lighting systems and how they function.
- Runway Markings (Video): Explanation of runway numbers, markings, and signage.
- Airport Signs, Markings, and Procedures (Video): In-depth look at how visual guidance supports safe airport operations.
- Signs and Markings Reference Guide (FAA PDF): Quick reference guide for various signs and markings in an airport.
- Meet Michael DiPilato: Visual Guidance (Video): How FAA researchers test and improve airport visual guidance systems.
- Navigation Programs: Overview of navigation systems that support aircraft operations.
- Google Earth & Google Maps: Aerial imagery tools to help identify lighting layouts and surface markings.
And here are your wings for completing Module 3!
Finished with your Workbook and ready to move on? Next up is Module 4 – Airport Buildings!